How To Run Microsoft Project On Your Mac (It’s Easy)

I’ve managed large projects from my Mac and had a wonderful time.

Even running MS Project from the Macbook Pro is no problem.

In this article you’ll see how you can run Microsoft Project on your Mac, too.

A Virtual Machine Allows You To Run Windows Apps On Your Mac

Running Windows applications like MS Project on a Mac is not directly possible. There is however simple solution that makes it possible.

It’s called a virtual machine (or VM in geek jargon).

A virtual machine is basically a piece of software you put on your computer which pretends to be a computer inside your computer.

It’s like a machine inside your Mac.

You can install any kind of operating system on this virtual machine, including Microsoft Windows.

Which Virtual Machine Should You Choose?

Where do you get this virtual machine that allows you to run Windows apps on your Mac?

There are different solutions available, both free and paid:

  • Parallels Desktop (paid)
  • VMWare (paid)
  • VirtualBox (free)

My preference is Parallels Desktop, which isn’t for free, but I find it very easy to use. You can buy it online.

What about free alternatives?

I have tried VirtualBox and gave up after several errors.

Further on, I am going to show you my setup with Parallels Desktop.

Why do I recommend Parallels Desktop?

You can access Mac documents via Windows explorer

One of the reason why I like Parallels Desktop as a virtual machine on the Mac is that it integrates so well with the existing Mac environment.

You can even access your Mac documents and folders from within Windows — and vice versa.

How to Setup Parallels Desktop With Windows

Before you do anything else, you first have to install Parallels Desktop on your Mac. It is available as a Mac version.

The guided installation process is very simple so I won’t get into the details here.

After you’ve installed Parallels Desktop, it will ask you what virtual machine and operating system you want to install.

Let’s install Windows first.


Install Windows On Your Mac

Parallels will give you the following screen after install. Here you have to choose Get Windows 10 from Microsoft (or whatever the latest version may be).

This will download and install Microsoft Windows on your computer, inside the virtual machine.

Install Windows using Parallels Desktop so you can run MS Project on your Mac later.
Install Windows via the Installation Assistant. This is required for running MS Project.

Up to this stage, you don’t have to buy Windows yet. It just completes the technical installation of the Windows operating system.

You only need to pull out your credit card at the next step.

Activate Windows (or Don't)

Now that you have a running Windows operating system on your Mac, it might be a good idea to activate your Windows license.

What does this mean?

Activating your Windows installation means you are entitled to use Windows without restrictions.

As a general rule, you have two options for activating Windows:

  • Option A: You can buy a Windows Home (or Professional) license directly from Microsoft.
  • Option B: You can buy a license from an authorized software reseller.

Option B is by far the cheaper option. Resellers usually offer Windows licenses at a large discount, because they purchase huge volume licenses from Microsoft. So this is perfectly legal. You are getting a fully valid Windows license. You just pay a fraction of the regular fee.

Do you have to activate Windows?

As far as I can tell, the system will still work without activation. But it’s like driving with a stolen car.

So now – Congratulations:

You got Windows installed on your Mac!

Time to Start Windows

Let’s start your Windows virtual machine on your Mac.

Once you have launched Windows, you should see a screen like this:

Windows startup screen on a Mac

Get Microsoft Project (And how you can save money on your license)

Now it’s time to buy a Microsoft Project license that you can use on your Mac.

MS Project 2019 is currently the latest version and can be used on a Mac.Microsoft Project, like any software, is constantly undergoing updates.

The newer versions (like Microsoft Project 2019 at the time of writing) are more expensive and more or less like the older versions, but with nicer optics.

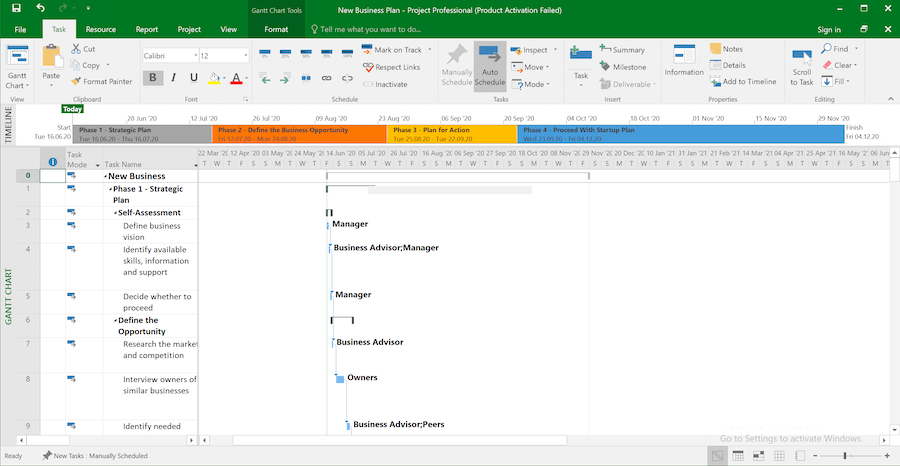
Older versions (like the MS Project 2016 that I use) perform their job perfectly without any limitations.

They are great to use and you can get them for WAY less compared to the latest MS Project versions from Microsoft.

If you want to save a bit of cash, I recommend getting one of the more “senior” versions. Not only do they cost less. They are also more stable than newer versions.

Tip: How to SAVE $$$ ON YOUR Microsoft Project LICENSE

You can get really good deals when buying MS Project from one of the software resellers.

My favorite Microsoft reseller is My Choice Software: They offer Microsoft Project 2016 and Microsoft Project 2019 at great prices for digital download.

What’s the buying process? After the purchase, you’ll receive a download link for MS Project for Windows. Simultaneously, My Choice Software will send you an email with a license code. After starting MS Project for the first time, you enable it using the license code and you’re done!

These are affiliate links, meaning you get a great deal on MS Project and I get a commission at no extra cost to you.

Install and Activate MS Project

Installing MS Project

After you have bought MS Project from your online shop of choice — my shop is My Choice Software — you have to download the setup file.

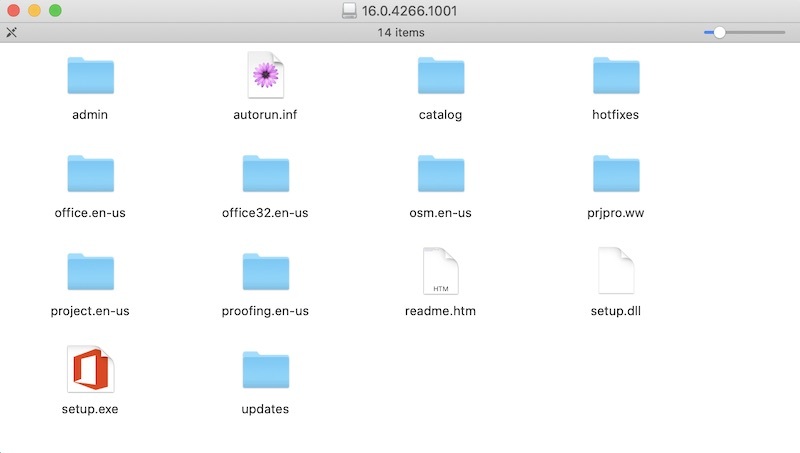
In my case, the download file looks like this: 

MS Project ISO file

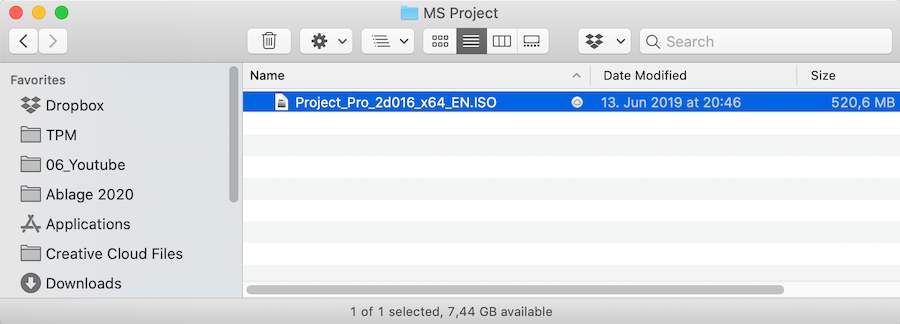
Note that this picture is taken from my Mac.

We first have to unpack the ISO file, which is like an archive file.

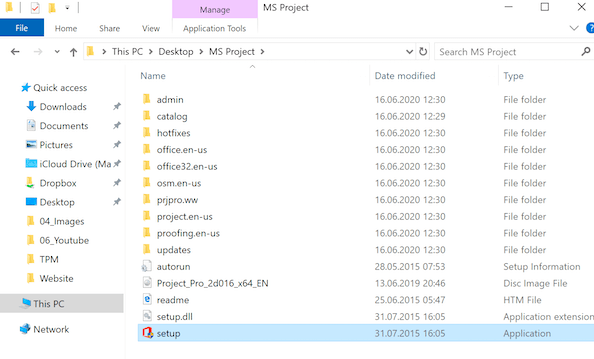
Once you double click on the file within Mac Finder, we should be able to see the actual installation files:

MS Project 2016 installation files

Note that these are Windows files. In order to run the setup program, you have to go into your Windows virtual machine! Let’s do that.

From your Windows explorer, launch the setup app:

MS Project setup program run within Mac

This will trigger the installation process:

The installation takes only a few seconds. Once it is complete, start MS Project from the start menu.

Launching MS Project from the Start Menu

MS Project will ask you to activate the product. Here you have to enter the product key that was sent to you by the store you bought your Project license at.

Enter your product key:

Entering the MS Project license key is necessary to run MS Project on a Mac

Voilà! You Are Set to Go!

Congratulations! Now you can run MS Project on your Mac.

Do you need help using MS Project? Check out our article on creating a project plan in MS Project.

Lastly, I’d like to mention that MS Project isn’t the only option on Macs. There are a number of great native project management tools available for the Mac (Check out this article).

Running MS Project on a Mac is possible.
Get MS Project to run on a Mac is easily possible.

Author

  • Adrian Neumeyer

    Hi! I'm Adrian, former Senior IT Project Manager and founder of Tactical Project Manager. I created the site to help you become an excellent project leader and manage intense projects with success!

Recommended articles